Mastering the Installation: How to Install a REME HALO in Your Home

Why Install a REME HALO in Your Home?
If you're looking for straightforward steps on how to install a REME HALO air purifier in your home, you’re in the right place. Here’s a quick overview:
- Turn off power to your HVAC system.
- Identify a location in the ductwork.
- Cut the hole for the unit.
- Secure the REME HALO unit.
- Connect the wires appropriately.
- Turn the power back on and test the unit.
Installing a REME HALO can significantly improve indoor air quality by neutralizing pollutants, odors, and mold. This device sets itself apart by producing ionized hydrogen peroxide, which safely purifies the air throughout your home.
Implementing an air purification system like this is beneficial for a variety of reasons:- Reduces allergens and airborne contaminants.- Promotes better respiratory health for you and your family.- Improves the efficiency of your HVAC system.
I’m Allen Chenault, the owner and founder of AC's Heating & Air LLC. With over eight years of expertise in HVAC installation, I’ve seen the substantial impact a REME HALO can have on indoor air quality. Rest assured, my guide will make the installation process easy and effective.

Tools and Materials Needed
Before diving into the installation, gather all the necessary tools, materials, and safety gear. Having everything prepared will make the process smoother and more efficient. Here’s what you’ll need:
Tools List
- Screwdriver Set: Both flathead and Phillips screwdrivers will be required.
- Drill and Hole Saw: A drill with a hole saw attachment, typically 3 inches in diameter, is needed to cut the hole in the ductwork.
- Wire Strippers: To strip the ends of the wires for proper connection.
- Measuring Tape: Ensures precise measurements for placement and installation.
- Utility Knife: Useful for cutting through duct insulation.
- Multimeter: For checking electrical connections and ensuring the power is off.
- Marker: To mark the location where the hole will be cut.
- Pliers: Handy for bending and twisting wires.
Materials List
- REME HALO Unit: Make sure you have the correct model for your HVAC system.
- Mounting Template: Often included with the REME HALO unit to guide where to cut the hole.
- Screws and Anchors: For securing the unit to the ductwork.
- Wire Nuts: For safe and secure wire connections.
- Electrical Tape: To insulate and secure wire connections.
- HVAC Sealant: Optional but recommended to seal any gaps around the installed unit.
Safety Gear
- Safety Glasses: Protect your eyes from flying debris when drilling and cutting.
- Gloves: Protect your hands from sharp edges on the ductwork and tools.
- Dust Mask: Prevents inhalation of dust and particles during installation.
- Ear Protection: Recommended if you’re using loud power tools.
Important Considerations
- Turn Off Power: Always ensure the power to your HVAC system is turned off before starting the installation.
- Read the Manual: Refer to the REME HALO installation manual for specific instructions and safety warnings.
- Check Local Codes: Ensure your installation complies with local electrical and building codes.
Having the right tools, materials, and safety gear is crucial for a successful installation. Now that you’re prepared, let’s move on to the step-by-step guide on how to install a REME HALO in your home.
Next, we'll dive into the first step of the installation process: preparing for installation.
Step-by-Step Guide: How to Install a REME HALO
Step 1: Preparing for Installation
Before you begin installing the REME HALO, it's crucial to take some safety precautions and gather all necessary tools and materials.
Safety Precautions:
- Turn Off Power: Ensure the power to your HVAC system is turned off at the breaker box. This prevents electrical shock during installation.
- Wear Safety Gear: Use safety glasses, gloves, and a dust mask to protect yourself from debris and sharp edges.
Gather Tools and Materials:
- Tools: Screwdriver set, drill with a 3-inch hole saw, wire strippers, measuring tape, utility knife, multimeter, marker, and pliers.
- Materials: REME HALO unit, mounting template, screws, anchors, wire nuts, electrical tape, and HVAC sealant.
Step 2: Installing the REME HALO Unit
Mounting Location:
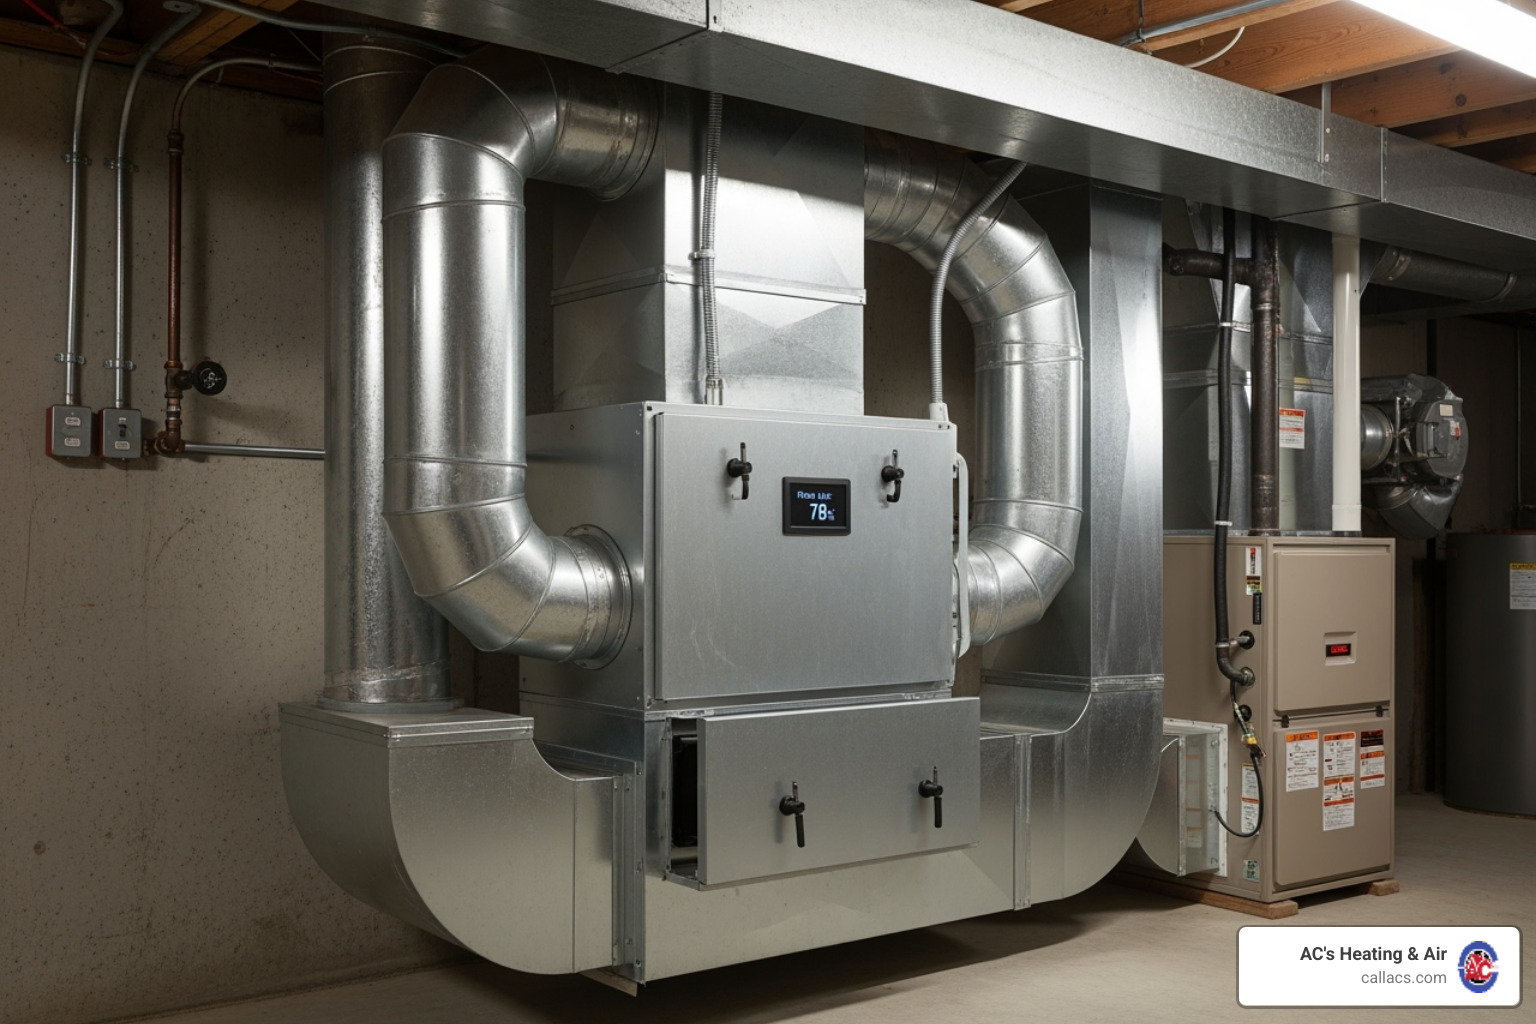
- Choose the Location: The REME HALO should be installed in the supply plenum of your HVAC system. This ensures that the air purifier treats the air before it circulates through your home.
- Mark the Spot: Use the mounting template to mark the spot where you'll cut the hole in the ductwork.
Cutting the Hole:
- Drill the Hole: Use the drill with the 3-inch hole saw attachment to cut a hole in the marked spot. Make sure to keep the drill steady to create a clean cut.
- Clean the Edges: Use a utility knife to clean any rough edges around the hole.
Securing the Unit:
- Insert the REME HALO: Place the REME HALO unit into the hole, ensuring it fits snugly.
- Secure with Screws: Use screws and anchors to secure the unit to the ductwork. Ensure it is firmly in place.
Step 3: Wiring the REME HALO
Thermostat Wiring:
- Identify Wires: Locate the common wire (C) and the fan wire (G) in your thermostat wiring.
- Connect Wires: Use wire strippers to strip the ends of the wires. Connect the REME HALO wires to the corresponding thermostat wires using wire nuts. Ensure secure connections and cover them with electrical tape.
Power Connections:
- Check Power Supply: Use a multimeter to ensure the power is off before making any connections.
- Connect to Power: Attach the REME HALO power wires to the appropriate terminals in your HVAC system. Refer to the REME HALO installation manual for specific wiring instructions.
Step 4: Testing the Installation
Powering On:
- Restore Power: Turn the power back on at the breaker box.
- Activate System: Turn on your HVAC system and set it to run.
Checking Functionality:
- Observe the Light: Check to see if the REME HALO light is on, indicating that it is functioning correctly.
- Test Different Modes: Run your HVAC system in both heating and cooling modes to ensure the REME HALO operates as expected.
Troubleshooting:
- No Light: If the light doesn't turn on, double-check all wire connections and ensure the power supply is correct.
- Intermittent Operation: Ensure the unit is wired to the correct terminals and that the HVAC system's fan is running.
By following these steps, you will successfully install the REME HALO in your home. Next, we will address common installation issues and solutions to help you troubleshoot any problems you might encounter.
Common Installation Issues and Solutions
Even with a well-laid-out plan, you might run into some common issues when installing your REME HALO. Here are a few problems you might encounter and their solutions.
Wiring Problems
Incorrect Wiring:
One common issue is incorrect wiring. As noted in various discussions, such as on Reddit, improper wiring can lead to the REME HALO not functioning correctly.
Solution:
- Double-Check Connections: Ensure you connect the REME HALO to the correct wires—usually the common wire (C) and the fan wire (G). This setup ensures the unit runs whenever the fan is on.
- Use the Correct Terminals: Refer to the REME HALO installation manual to identify the correct terminals in your HVAC system.
Power Issues
Power Supply Problems:
If the REME HALO doesn't turn on, you might be facing power supply issues. This can be caused by a tripped circuit breaker or faulty connections.
Solution:
- Reset the Circuit Breaker: Turn the HVAC system's breaker off and then on again. This can resolve minor power issues.
- Inspect Wiring: Use a multimeter to check for power at the connections. Ensure all wires are securely attached and not damaged.
Fan Operation
Fan Not Activating the REME HALO:
Sometimes, the REME HALO might not activate because it’s not correctly wired to the fan. As per the research, wiring to the G wire ensures the unit operates whenever the fan runs, which is ideal.
Solution:
- Check the G Wire: Make sure the REME HALO is wired to the G wire. This ensures the unit runs whenever the fan is on, which includes heating, cooling, and circulation modes.
- Adjust Settings: If your HVAC system has different fan settings (like "auto" and "circulate"), ensure these settings are correctly configured to keep the fan running as needed.
General Troubleshooting Tips
- Use a Pressure Switch: If the REME HALO doesn’t work with just the fan in circulate mode, consider using a pressure switch in the return ductwork. This method has been shown to work effectively after multiple service calls, as mentioned in the Reddit discussion.
- Test Various Modes: Run your HVAC system in different modes (heating, cooling, fan only) to ensure the REME HALO operates correctly in all scenarios.
- Consult the Manual: Always refer to the REME HALO installation manual for specific instructions and troubleshooting tips. This is crucial for ensuring optimal performance and longevity of the unit.
By addressing these common issues, you can ensure your REME HALO is installed and functioning correctly, providing cleaner and healthier air in your home.

Next, let's look at how to maintain your REME HALO for optimal performance.
Maintenance and Replacement
To keep your REME HALO running efficiently, regular maintenance and timely replacement of parts are crucial. Here’s how to ensure your unit stays in top shape.
Cell Replacement
The REME HALO’s cell, which contains the UV-C bulbs, is the heart of the unit. Over time, these bulbs will degrade and need replacement to maintain optimal performance.
- Lifespan: The UV-C bulbs typically last between 18,000 to 25,000 hours. This translates to roughly 2 to 3 years of continuous operation.
- Replacement Part: When it’s time for a replacement, look for part number PHIC-RH.
Steps for Replacement:1. Turn Off Power: Always ensure the power to your HVAC system is turned off before starting any maintenance.2. Remove the Unit: Carefully remove the REME HALO from the ductwork.3. Replace the Cell: Follow the instructions in the installation manual to replace the UV-C cell.4. Reinstall and Test: Reinstall the unit and turn the power back on. Check to ensure the new cell is functioning properly.
LED Lifespan
If you have the REME HALO LED model, the LEDs also have a lifespan and will need replacement eventually.
- Lifespan: LEDs in the REME HALO typically last longer than UV-C bulbs, often up to 5 years.
- Continuous Operation: For maximum lifespan, it’s recommended to operate the unit continuously. Cycling the LEDs on and off can shorten their life.
Cleaning Tips
Regular cleaning is essential to keep your REME HALO functioning efficiently and to ensure the air in your home remains clean.
- Turn Off Power: Before cleaning, always turn off the power to your HVAC system.
- Clean the Unit: Use a soft cloth to wipe down the exterior of the REME HALO. Avoid using harsh chemicals or abrasive materials.
- Inspect the Cell: Periodically inspect the UV-C cell or LED for any signs of dirt or damage. Clean gently if necessary.
- Check Filters: The REME HALO works best when used with high-quality electrostatic filters, such as MERV 11 or MERV 13 filters. Ensure these filters are clean and replace them regularly.
Recommended Filters:- MERV 11 AC/Furnace Filters by size- MERV 13 AC/Furnace Filters by size
Regular maintenance not only ensures your REME HALO performs at its best but also extends the life of the unit, providing you with cleaner, healthier air for years to come.

Additional Tips
- Schedule Regular Inspections: Have a professional inspect your HVAC system and the REME HALO unit at least once a year.
- Monitor Performance: If you notice a decrease in air quality or the unit isn’t functioning as expected, it might be time for maintenance or replacement of parts.
By following these maintenance tips, you can ensure your REME HALO continues to provide optimal air purification, keeping your home’s air clean and healthy.
Next, we'll dive into some frequently asked questions about REME HALO installation and operation.
Frequently Asked Questions about REME HALO Installation
Installing a REME HALO can bring many questions, especially if you’re doing it yourself or overseeing a professional installation. Let’s address some common queries.
Where should a REME HALO be installed?
The REME HALO is designed to be installed directly into the ductwork of your HVAC system for maximum effectiveness.
Best Locations:
- Supply Plenum: This is the most recommended spot. The supply plenum is the part of the HVAC system where air is distributed to the rest of your home. Installing the REME HALO here ensures that the purified air reaches every room.
- Air Handler: If installing in the supply plenum isn’t feasible, the air handler is another good option. The air handler is the unit that circulates air through your home, so placing the REME HALO here can still provide extensive air purification.
How much does it cost to install a REME HALO?
Installation Cost:
- Professional Installation: Typically, hiring a professional to install your REME HALO can cost between $400 to $800, depending on the complexity of your HVAC system and your location. This cost includes the unit, labor, and any additional parts needed for the installation.
- DIY Installation: If you’re handy and decide to install the REME HALO yourself, you’ll save on labor costs. However, be sure to follow the installation manual carefully to avoid any issues.
Should REME HALO be on all the time?
Continuous Operation:
- Recommended: For optimal performance and maximum lifespan, it’s recommended to run the REME HALO continuously. This ensures that the air in your home is always being purified.
- Impact on Energy Bills: Running the REME HALO continuously shouldn’t significantly impact your energy bills. In fact, by improving indoor air quality, it can help your HVAC system operate more efficiently, potentially lowering energy costs over time.
HVAC Fan:
- Wiring to the Fan: Some users prefer to wire the REME HALO to the HVAC fan, so it only runs when the fan is on. This is a viable option but may slightly reduce the overall effectiveness of the air purification.
- Intermittent Operation: The REME HALO LED model is designed for intermittent operation, which can extend the life of the LED cells.
By understanding these key aspects of how to install a REME HALO and its operation, you can make informed decisions to ensure your home’s air quality is at its best.
Next, we’ll explore common installation issues and their solutions.
Conclusion
Installing a REME HALO is a smart move for anyone looking to improve their home’s air quality. This device uses advanced technology to neutralize airborne contaminants, providing cleaner and fresher air.
Summary:
- Location: Install the REME HALO in the supply plenum or air handler for maximum effectiveness.
- Cost: Professional installation typically costs between $400 to $800. DIY installation can save on labor costs.
- Operation: Running the REME HALO continuously is recommended for optimal performance.
Benefits:
- Improved Air Quality: The REME HALO reduces pollutants, allergens, and odors, making your home healthier.
- Reduced Allergens: It helps alleviate allergy symptoms by neutralizing dust, pollen, and mold spores.
- Odor Elimination: Say goodbye to unpleasant smells from cooking, pets, and smoke.
- Improved Comfort: Cleaner air means fewer respiratory issues and a more comfortable living environment.
- Peace of Mind: Continuous air purification protects your home from airborne pathogens.
At AC's Heating & Air, we are committed to enhancing your indoor air quality. Our experienced technicians ensure precise and professional installation, so you can enjoy the full benefits of the REME HALO.
Ready to improve your home’s air quality? Contact us today to schedule your REME HALO installation and breathe easier!
By choosing us, you’re not just getting a product; you’re investing in a healthier, more comfortable home.


